1 New project
Let’s launch IDEA StatiCa and select the application Beam.
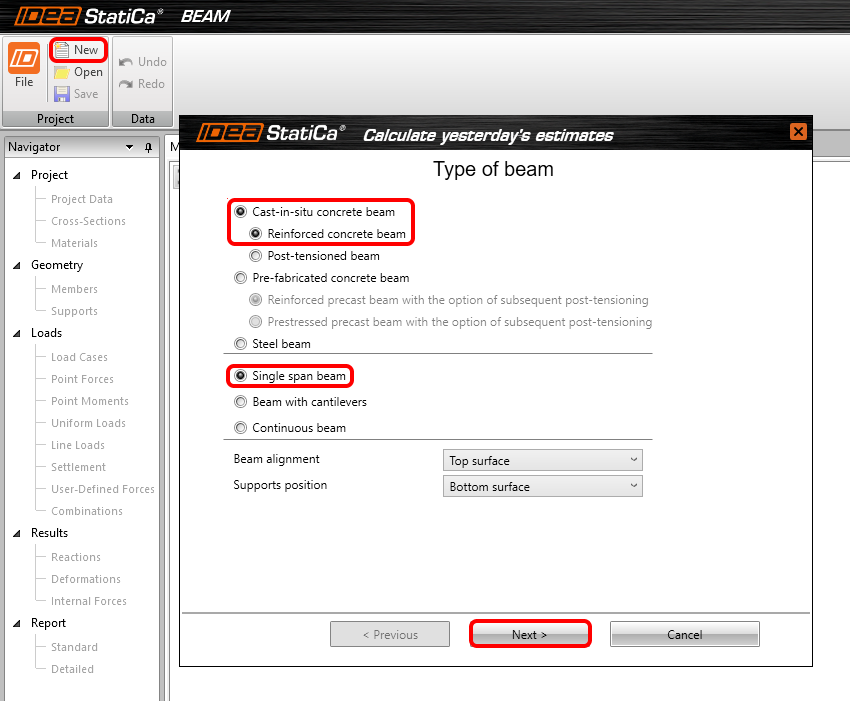
You create a new project by clicking New. The Wizard window is opened to speed the input. Start with a selection of cast-in-situ concrete beam, reinforced type, and Single span beam. Continue to next step of the wizard by Next.
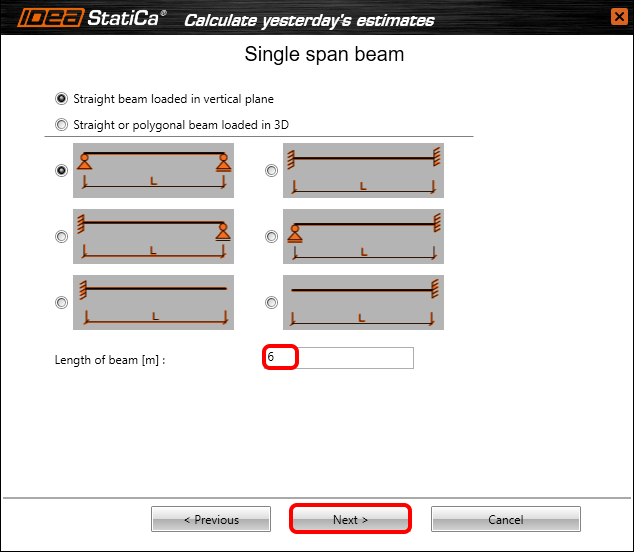
If it is not set as default, set the length of the beam to 6m.
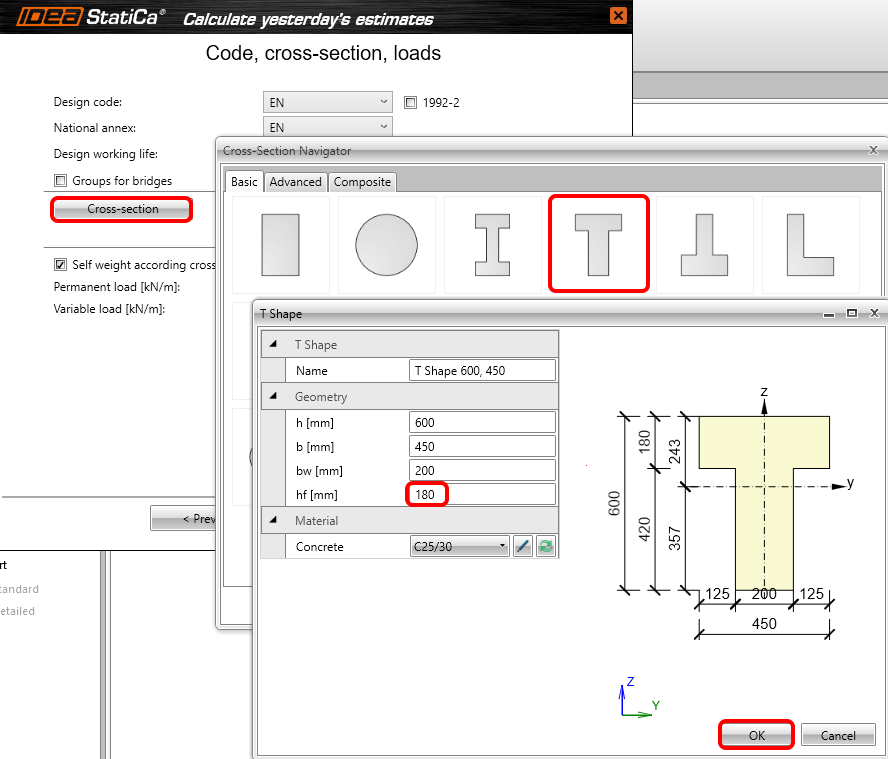
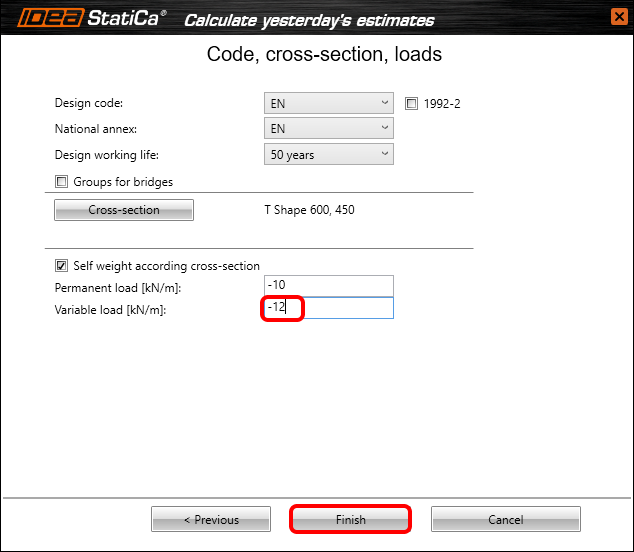
Now you need to set a code, national annex, cross-section, and loads. In this basic example, you will select a T cross-section and change the dimensions as follows.
After the input of the variable load, finish the creation of the model.
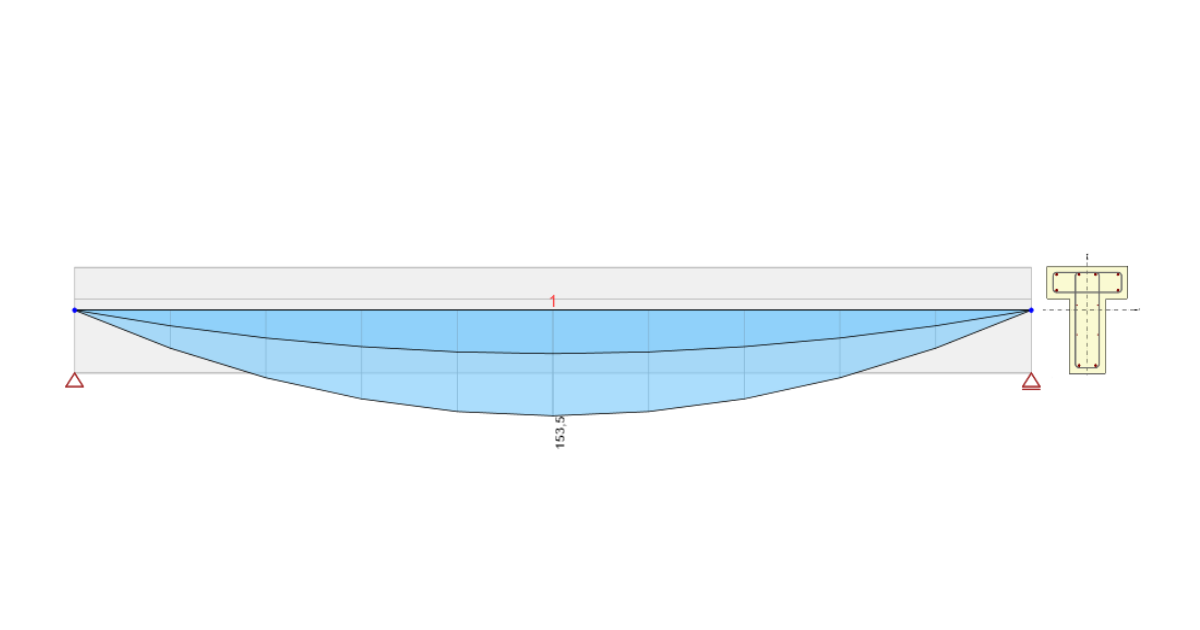
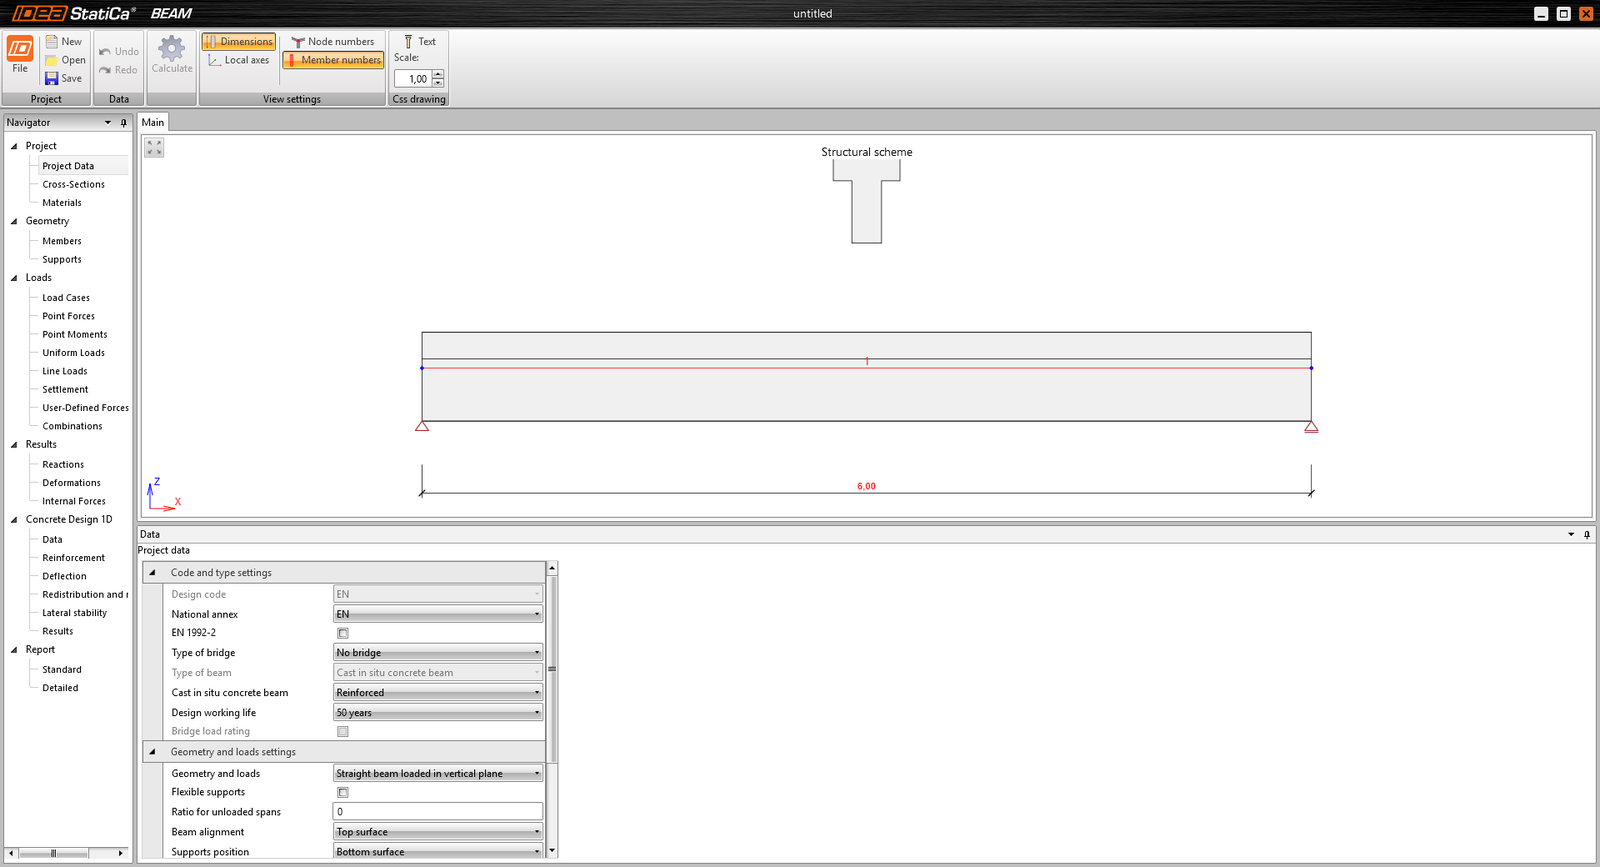
The following model will appear on your screen.
2 Design
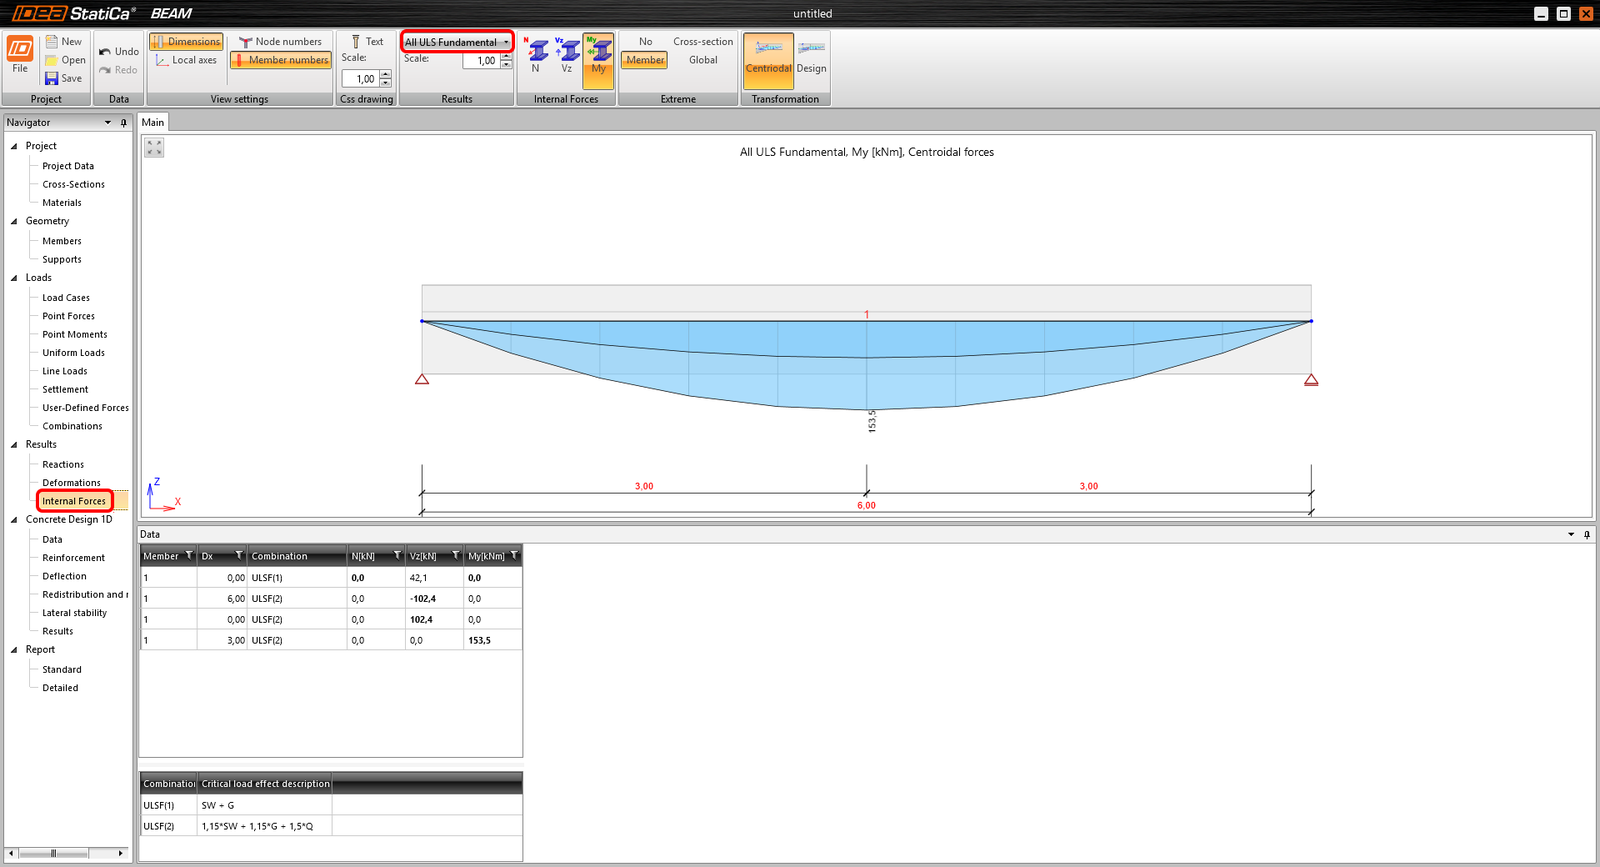
If you do not want to add more loads, you can continue directly to the internal forces tab in the navigator. You can go through all results of internal forces from any load case or combination in the project. If you want to change the displayed results, use the highlighted combo box to set them as desired. You can find the extreme values summarized in the table with combination descriptions right beneath so you can easily find out, how extreme values have been reached.
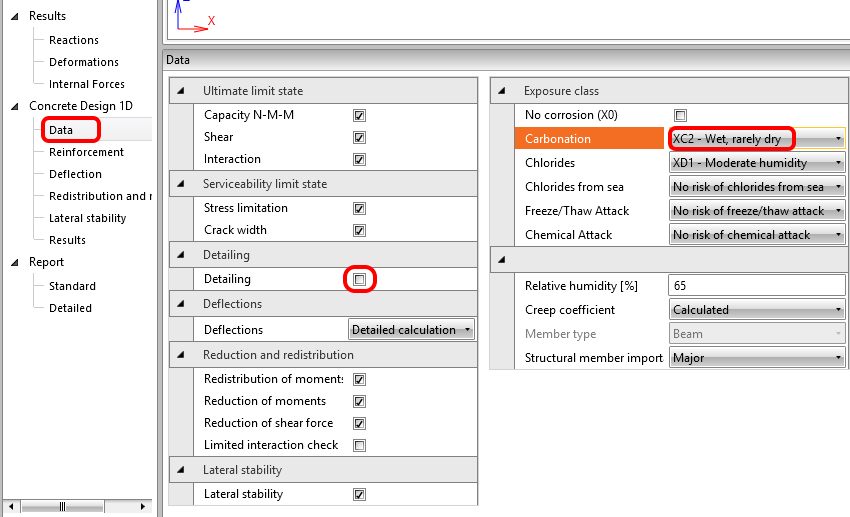
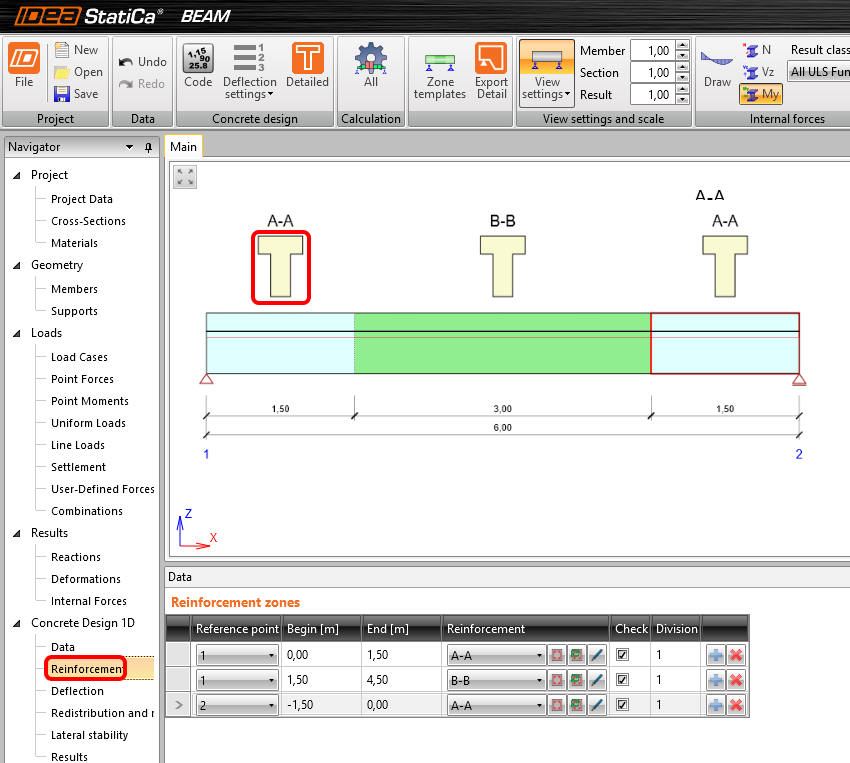
After these results, you come to the actual design and reinforcement of the beam. At first, you have a look into Data, where you can set the checks and calculations to be performed and also a few settings with an impact on the checks such as exposure classes. Let´s change the exposure class for carbonation to XC2.
Now let's proceed to the actual reinforcement. There are reinforcement zones in the beam, which can be modified (you can also use some templates for them). You will input the reinforcement for the first zone A-A by clicking on its shape's picture in the scene.
Start with the first template in the ribbon and set the numbers as seen here:
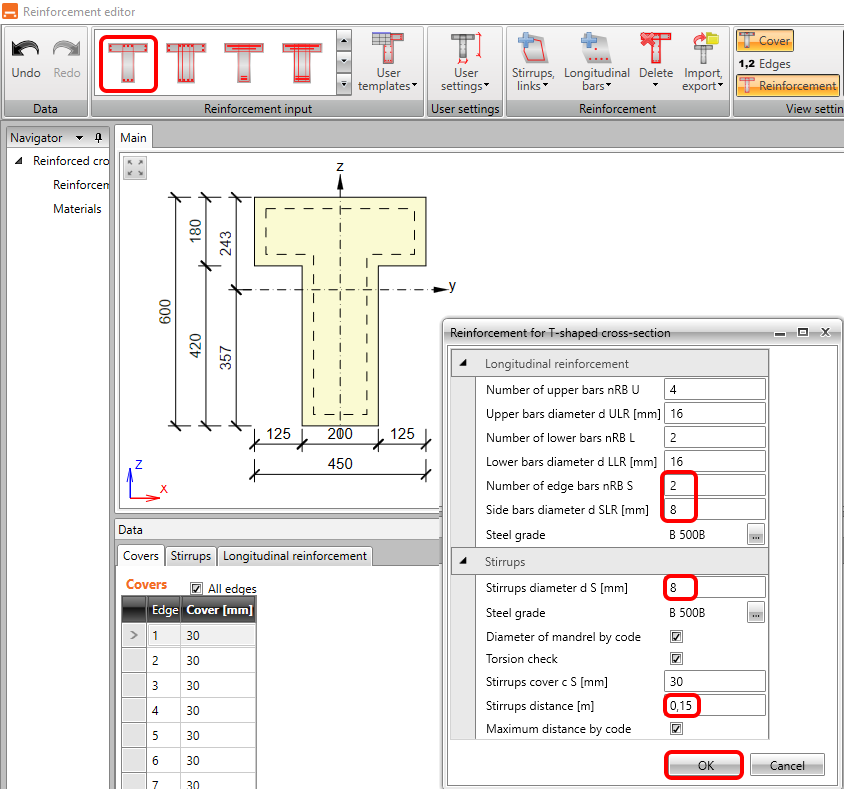
After clicking OK, you should see zone A-A reinforced on both ends of the beam. Let's finish the work for zone B-B.

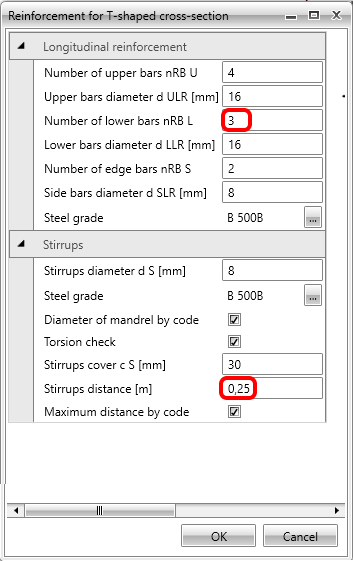
Repeat the steps to use the template (it remembers the latest input) and change the number of lower bars to 3 together with stirrups distance to 0,25m (the highest round number to fit the detailing rules).
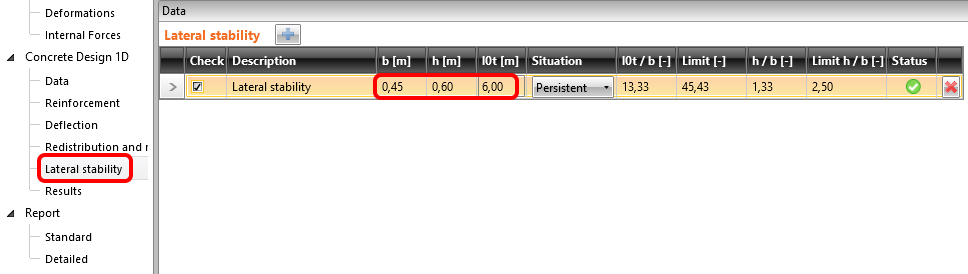
Now when reinforcement is finished, the last input required is lateral stability parameters. Fill in the following: the width of the flange in compression, the height in midspan, and buckling length for torsion. The check is available immediately.
3 Check
To run the checks, just click on Results in the navigator. The first thing you see after calculations is a summary of all checks. The fastest way to ensure everything is OK is to look at the right side of the screen.
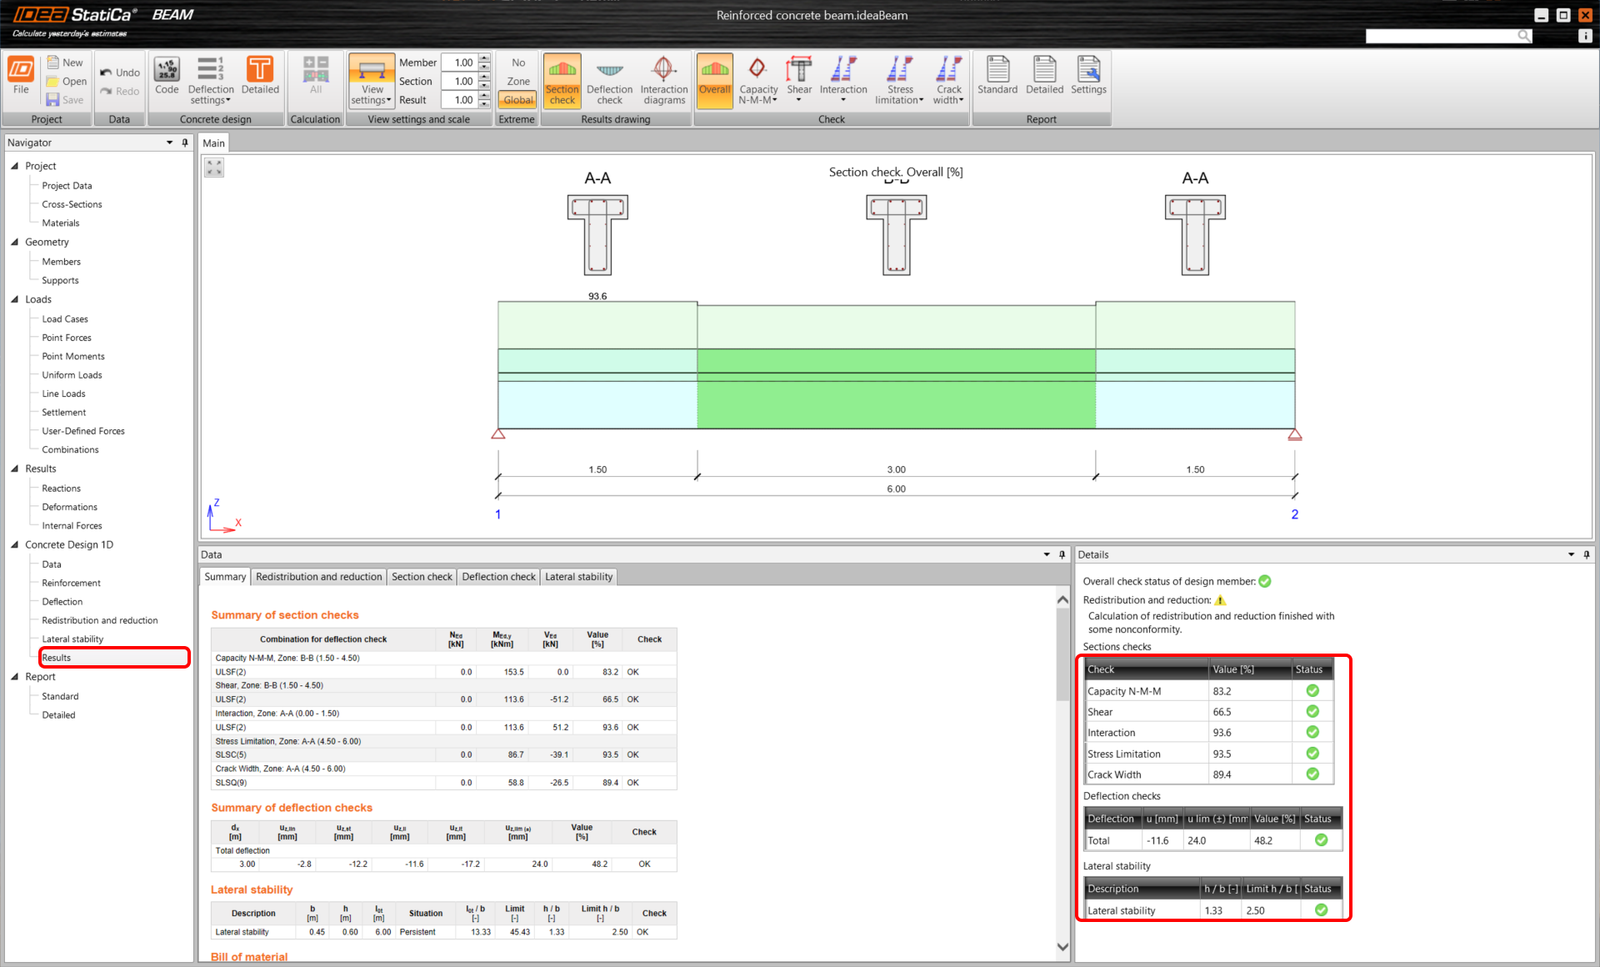
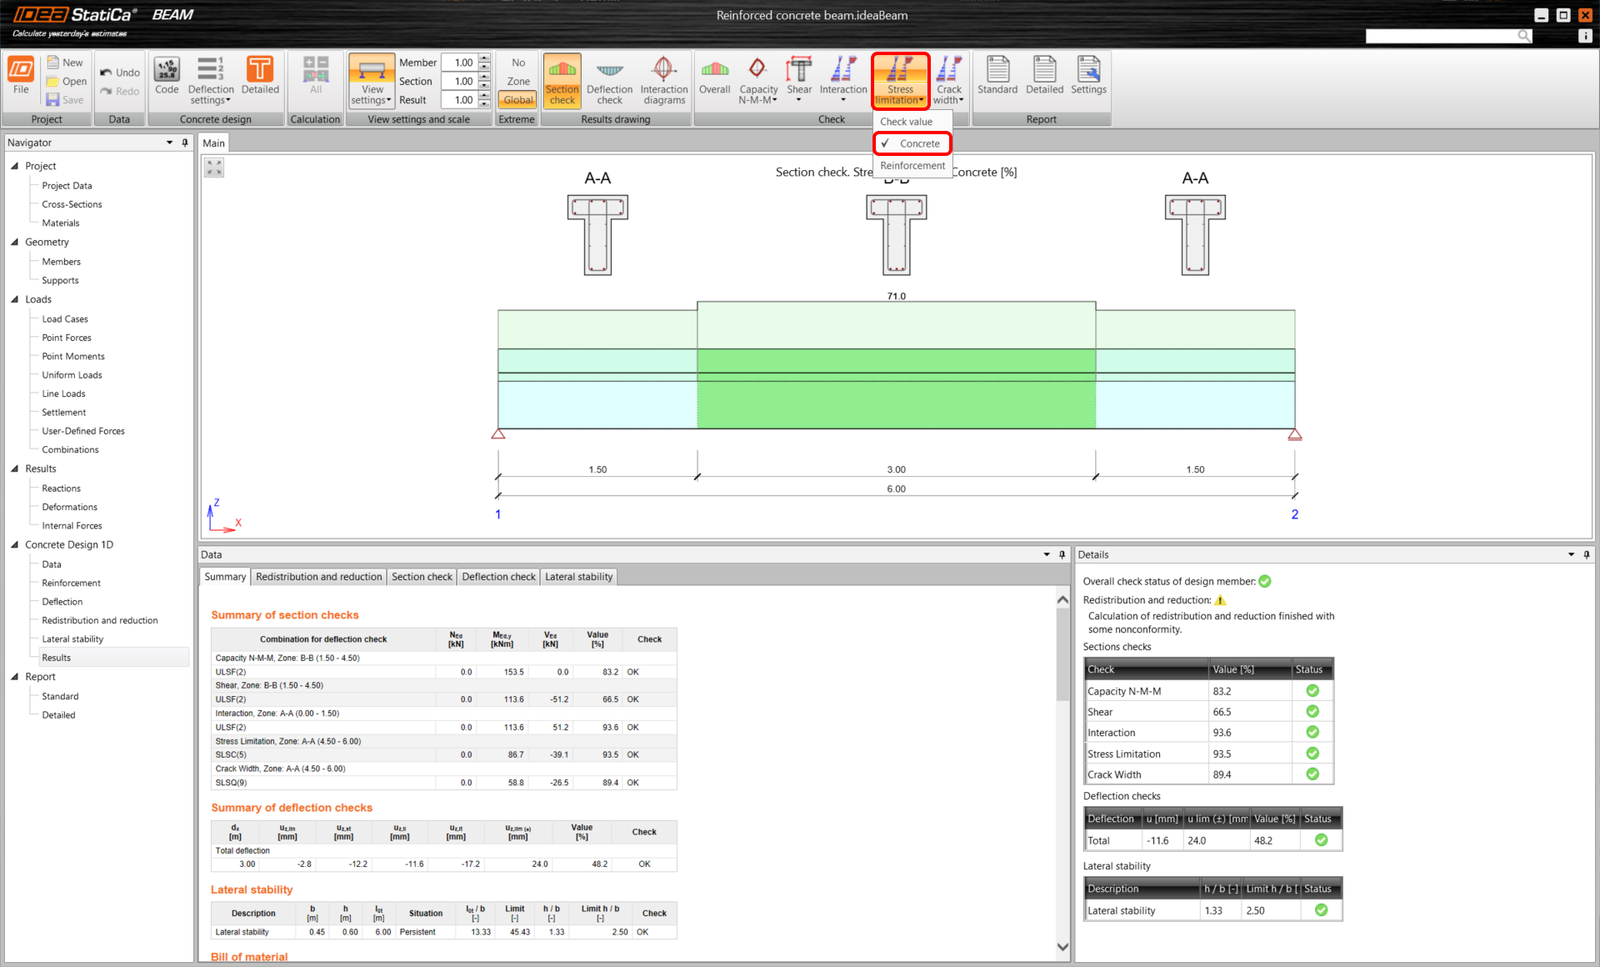
The top ribbon allows you to go through the results and you can always see the utilization in the model´s picture. Let´s have a look at the utilization of stress limitation check for concrete.
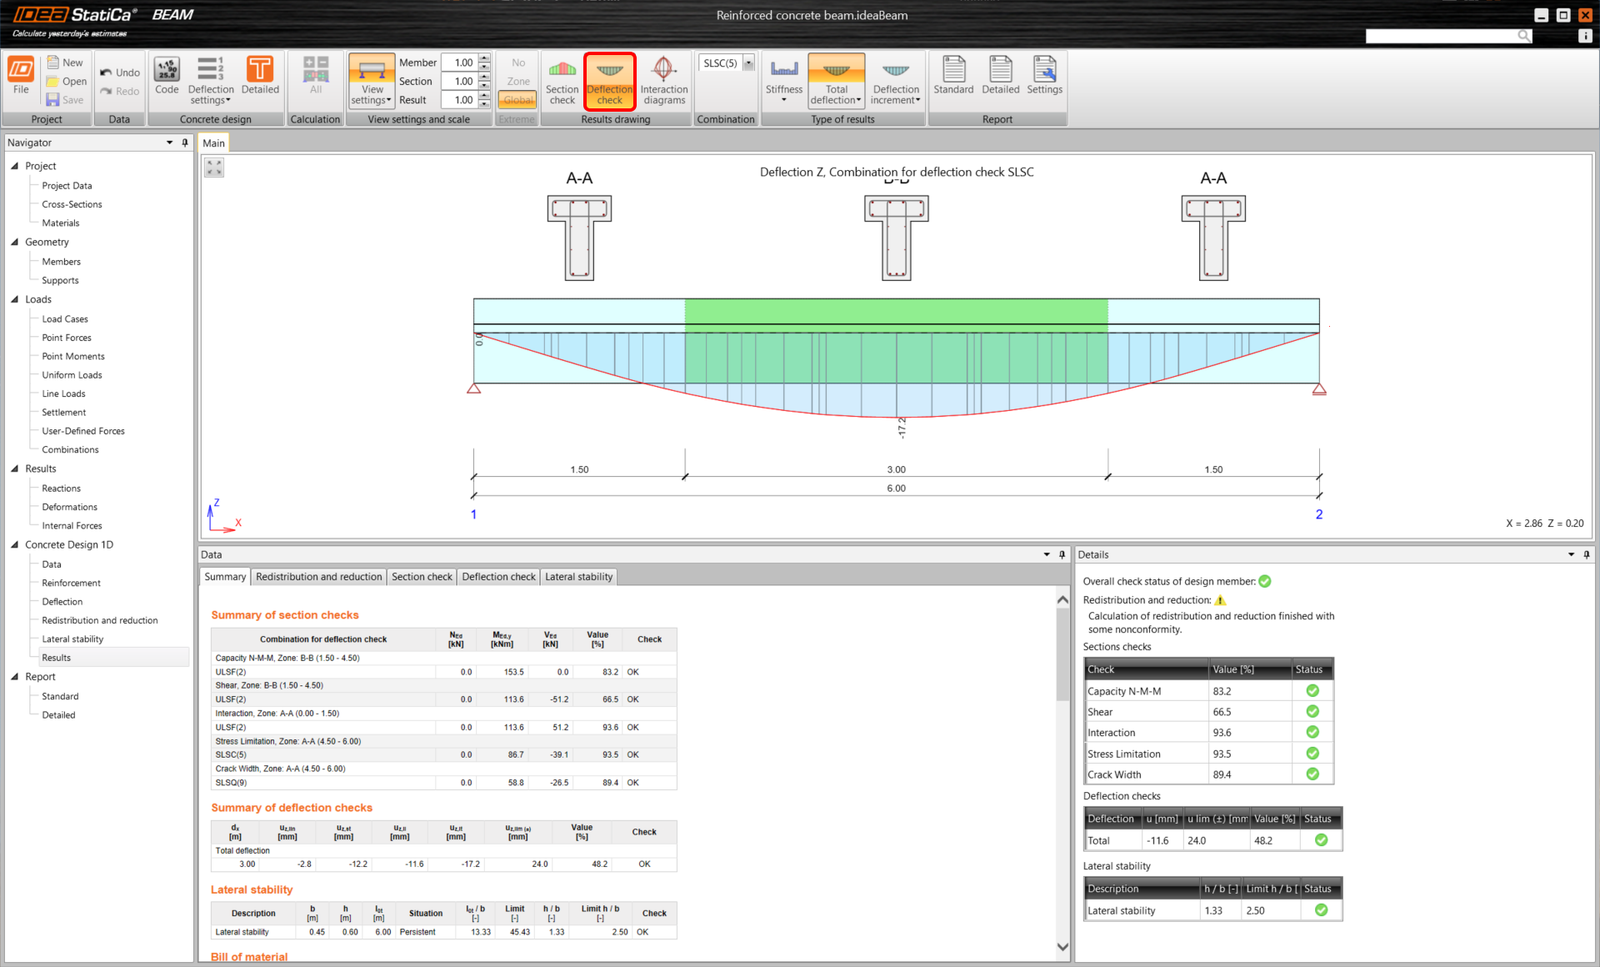
Or, you can switch to see the deflection checks.
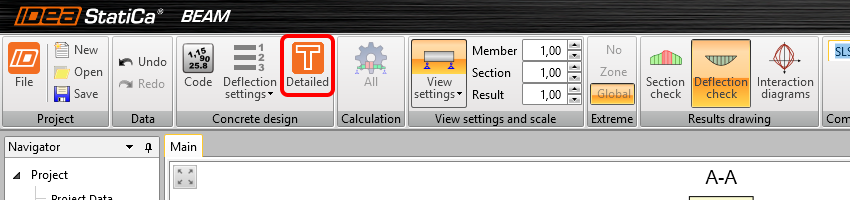
If you want to see the detailed results in a visualized way, you can export all zones to the RCS module by Detailed.
You will land in the RCS Section tab, where you can run calculations by All button.
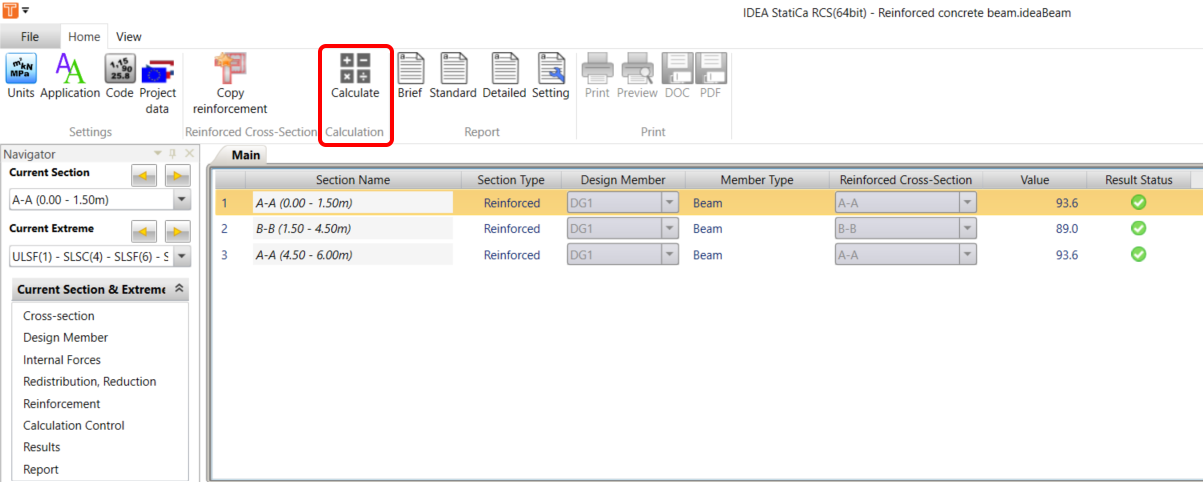
Once you go to results and switch between the tabs you can go through all the checks done for the selected section and extreme.
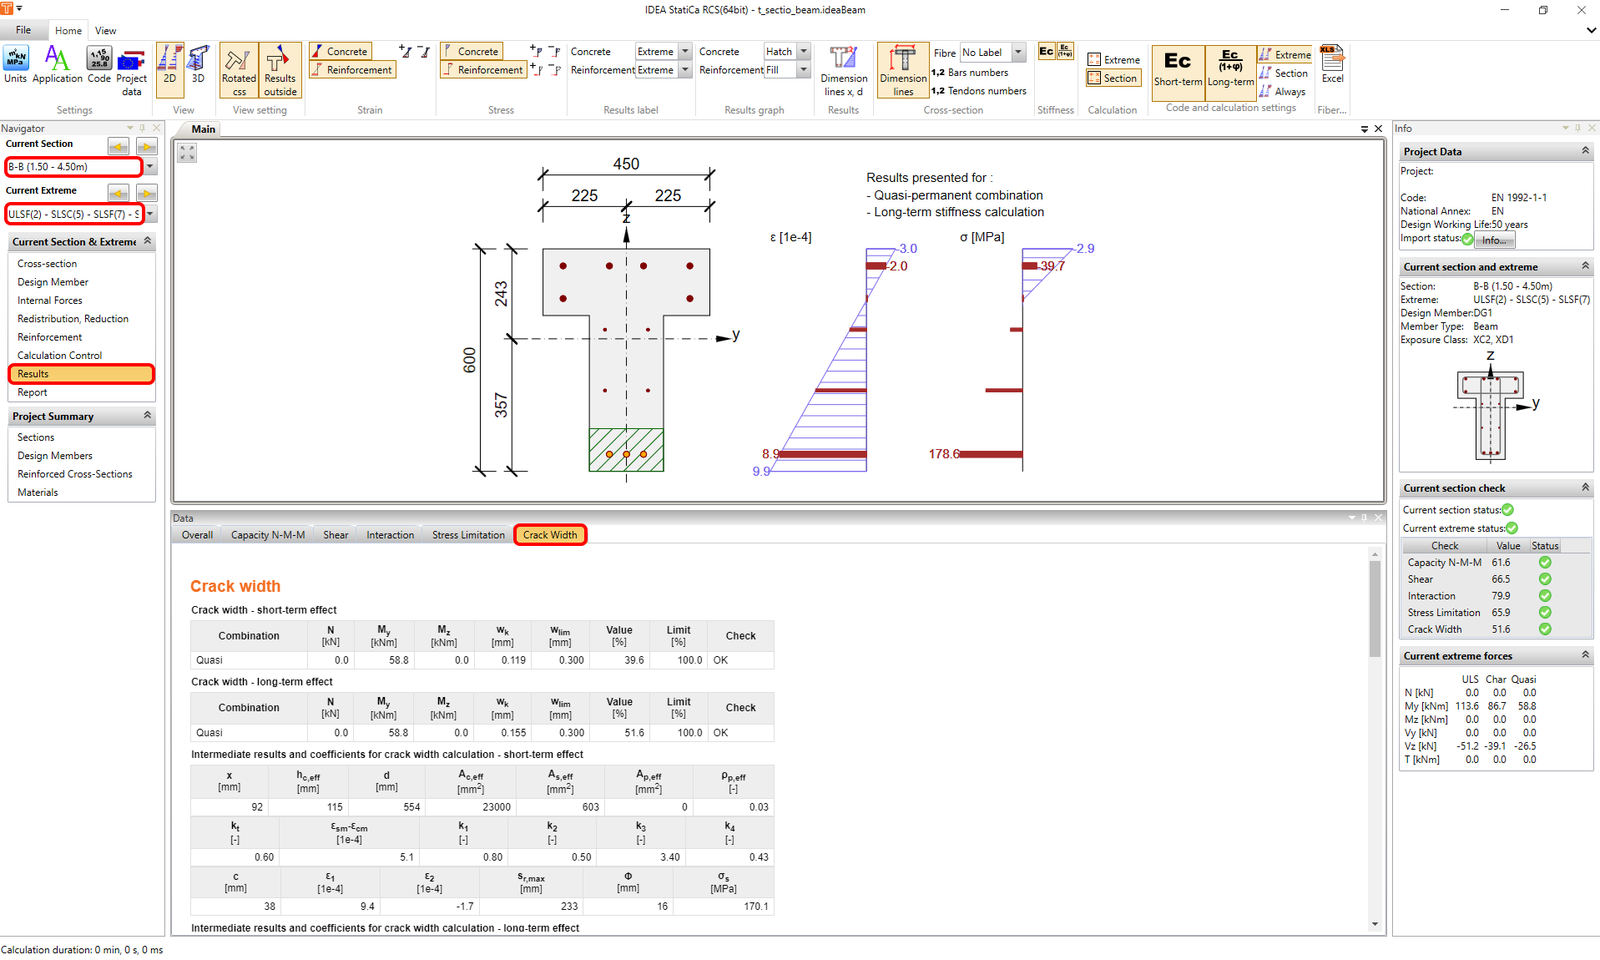
To go back to IDEA StatiCa Beam, just close the RCS window.
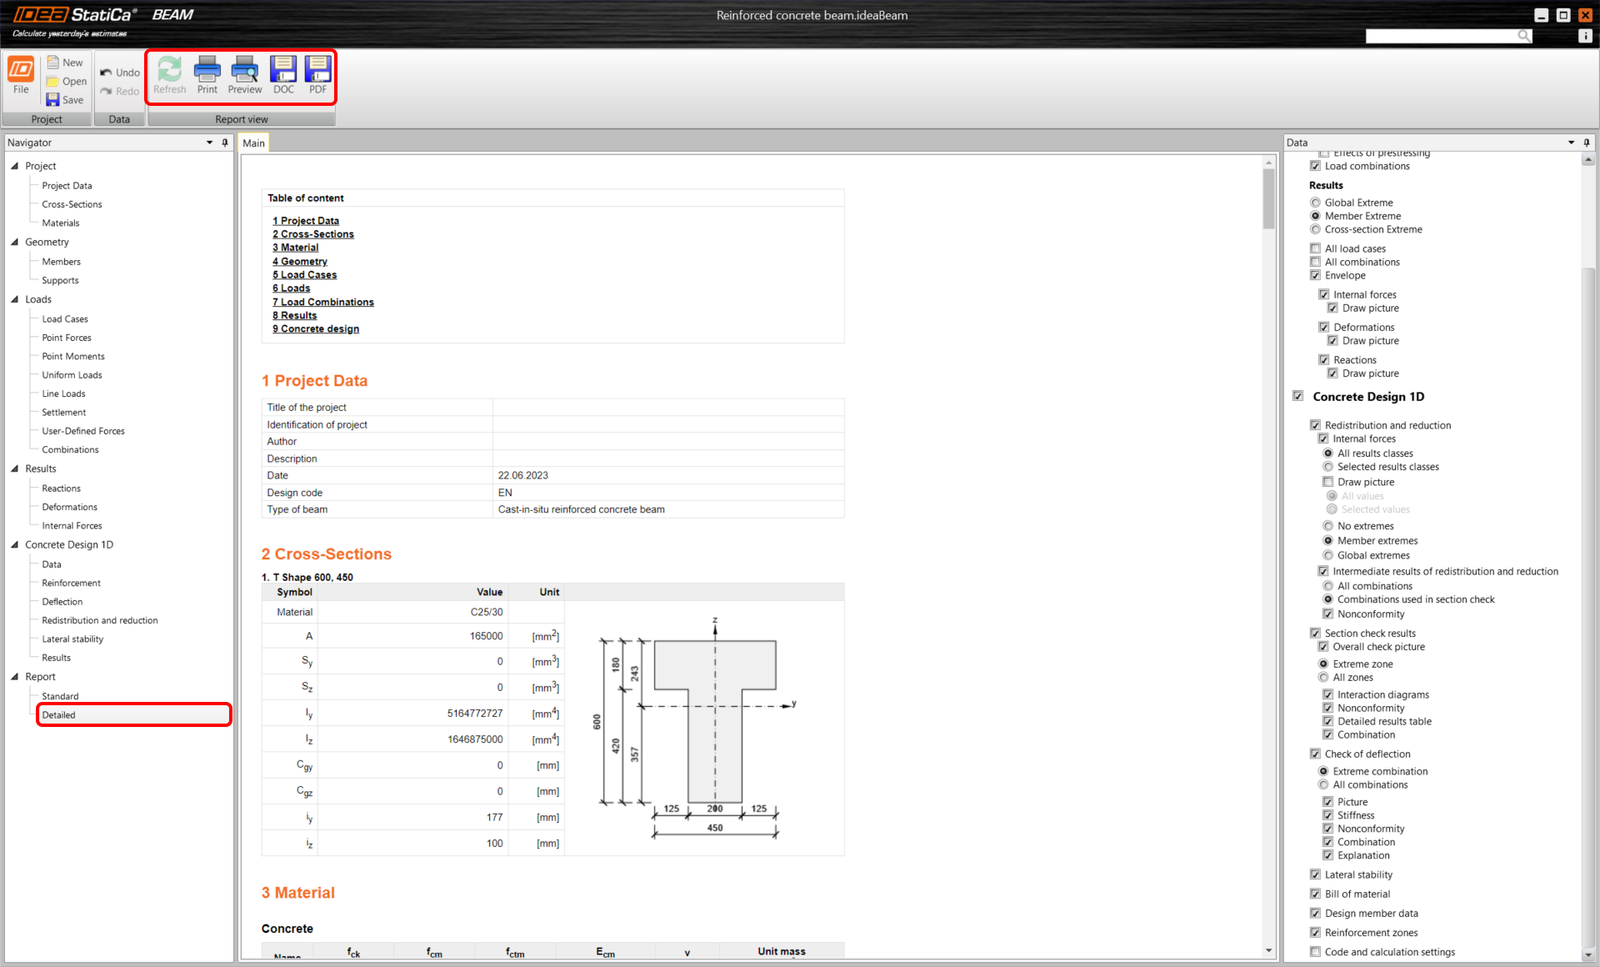
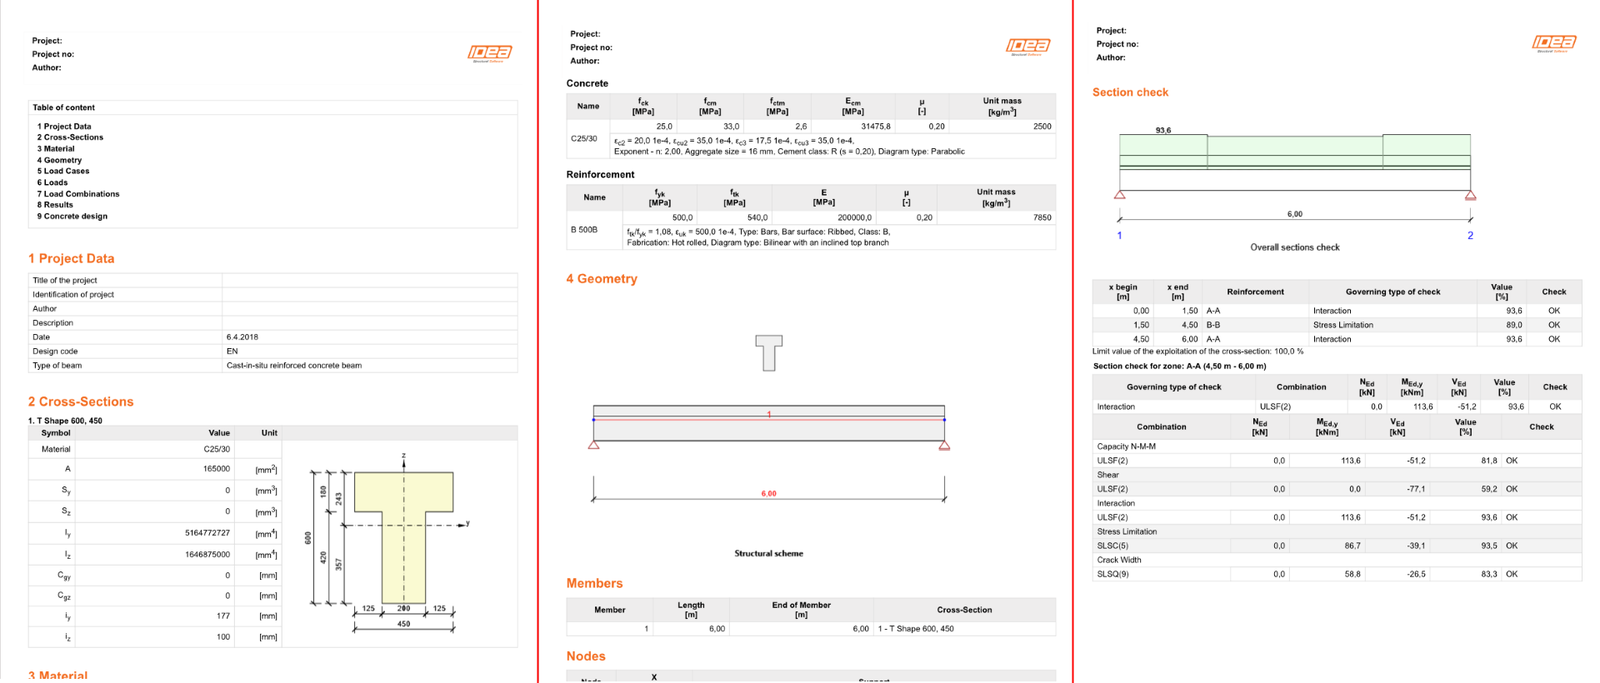
4 Report
At last, go to the Report Preview/Print. IDEA StatiCa offers a fully customizable report to print out or save in an editable format.
Now, you have designed, reinforced and code-checked reinforced concrete beam according to Eurocode.
- Concrete
- Prestressed concrete
- Tutorials
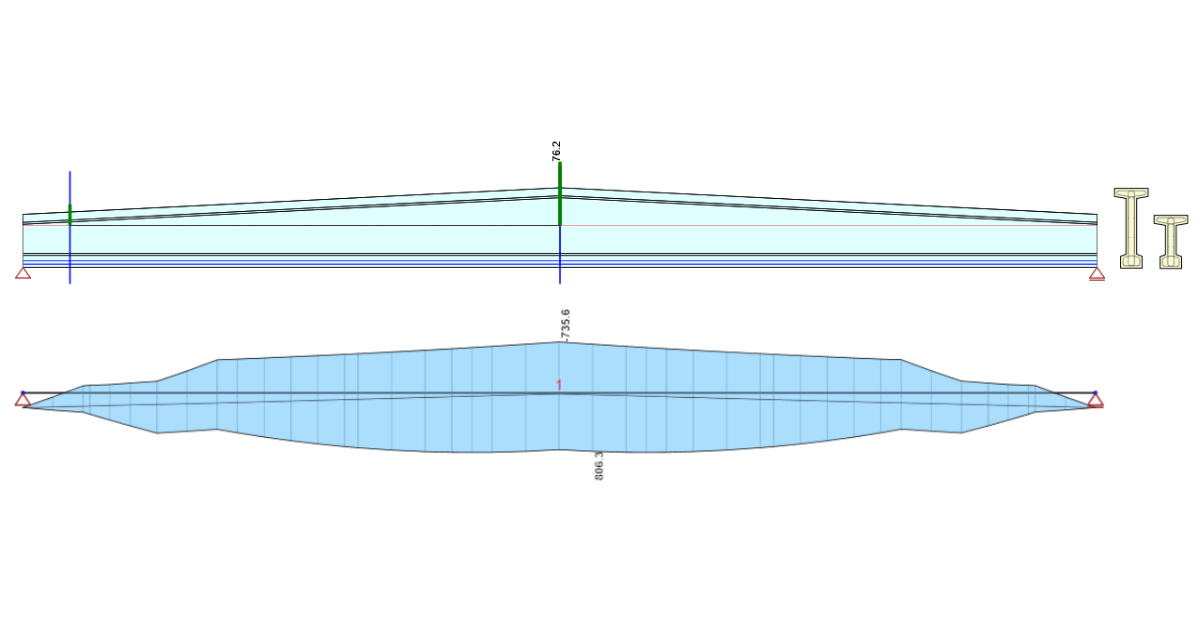
Structural design of a prestressed concrete saddle beam (EN)
Read more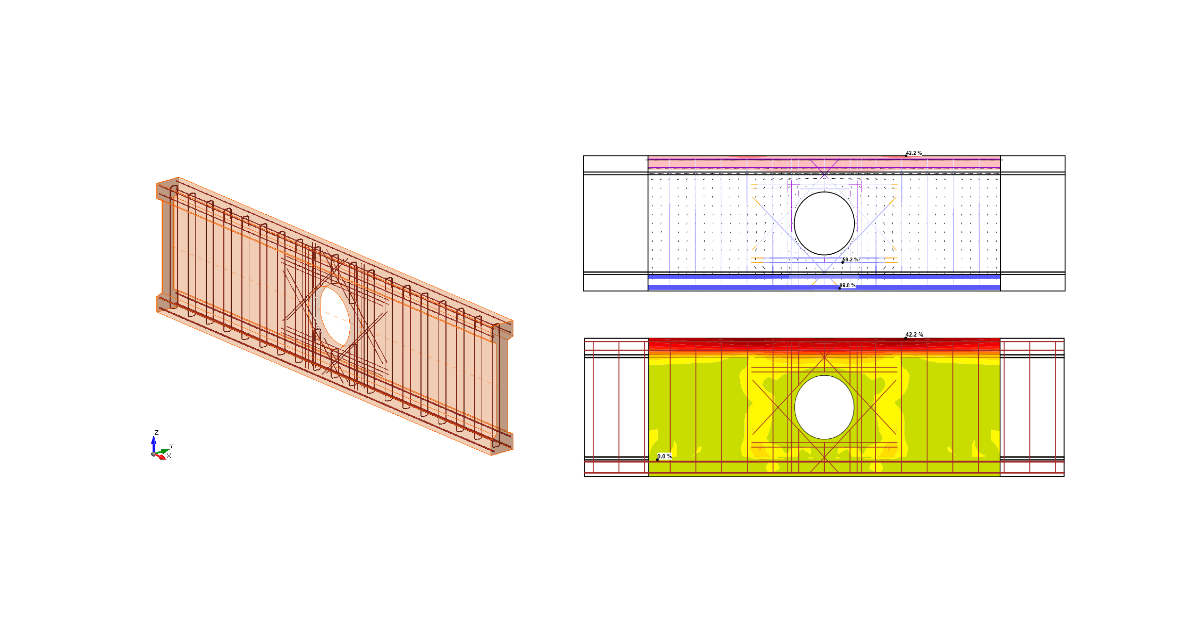
- Concrete
- Reinforced concrete
- Tutorials
Structural design of a concrete beam with an opening (EN)
Read more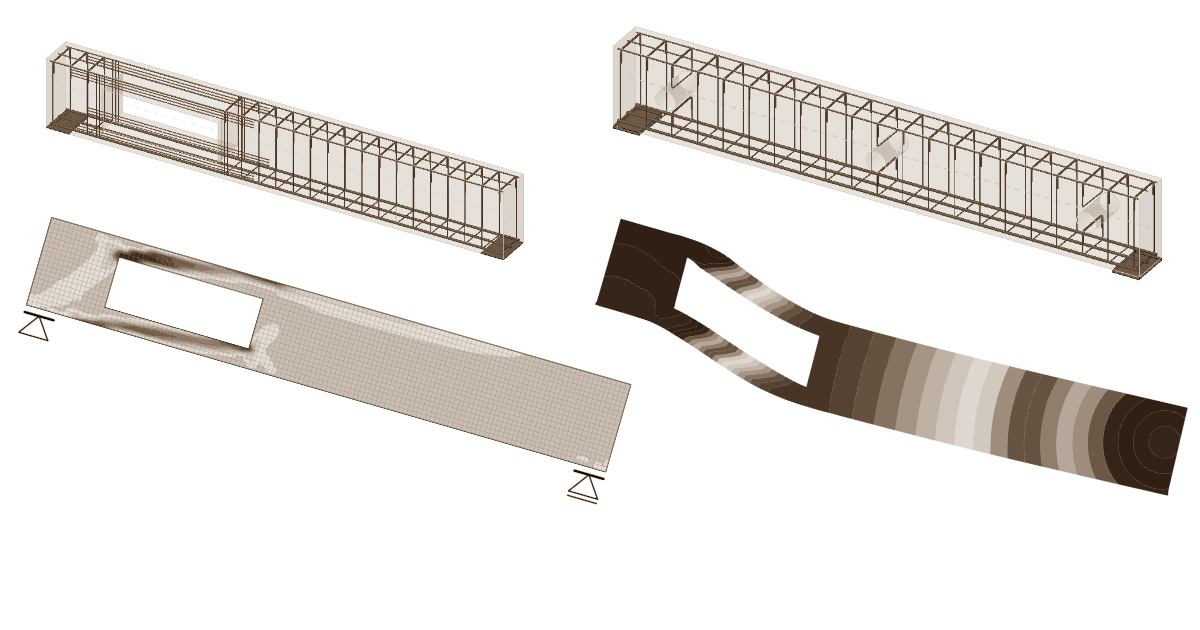
- Concrete
- Reinforced concrete
- Prestressed concrete
- Blog post
Modern construction vs. openings in beams
Read more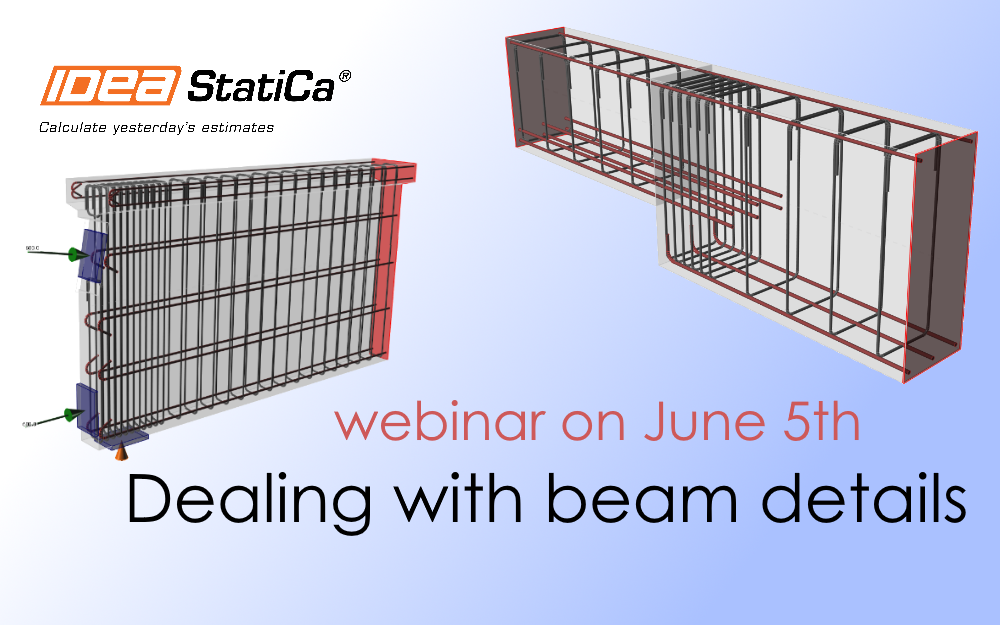
- Concrete
- Reinforced concrete
- Prestressed concrete
- Webinar