How to create a section view
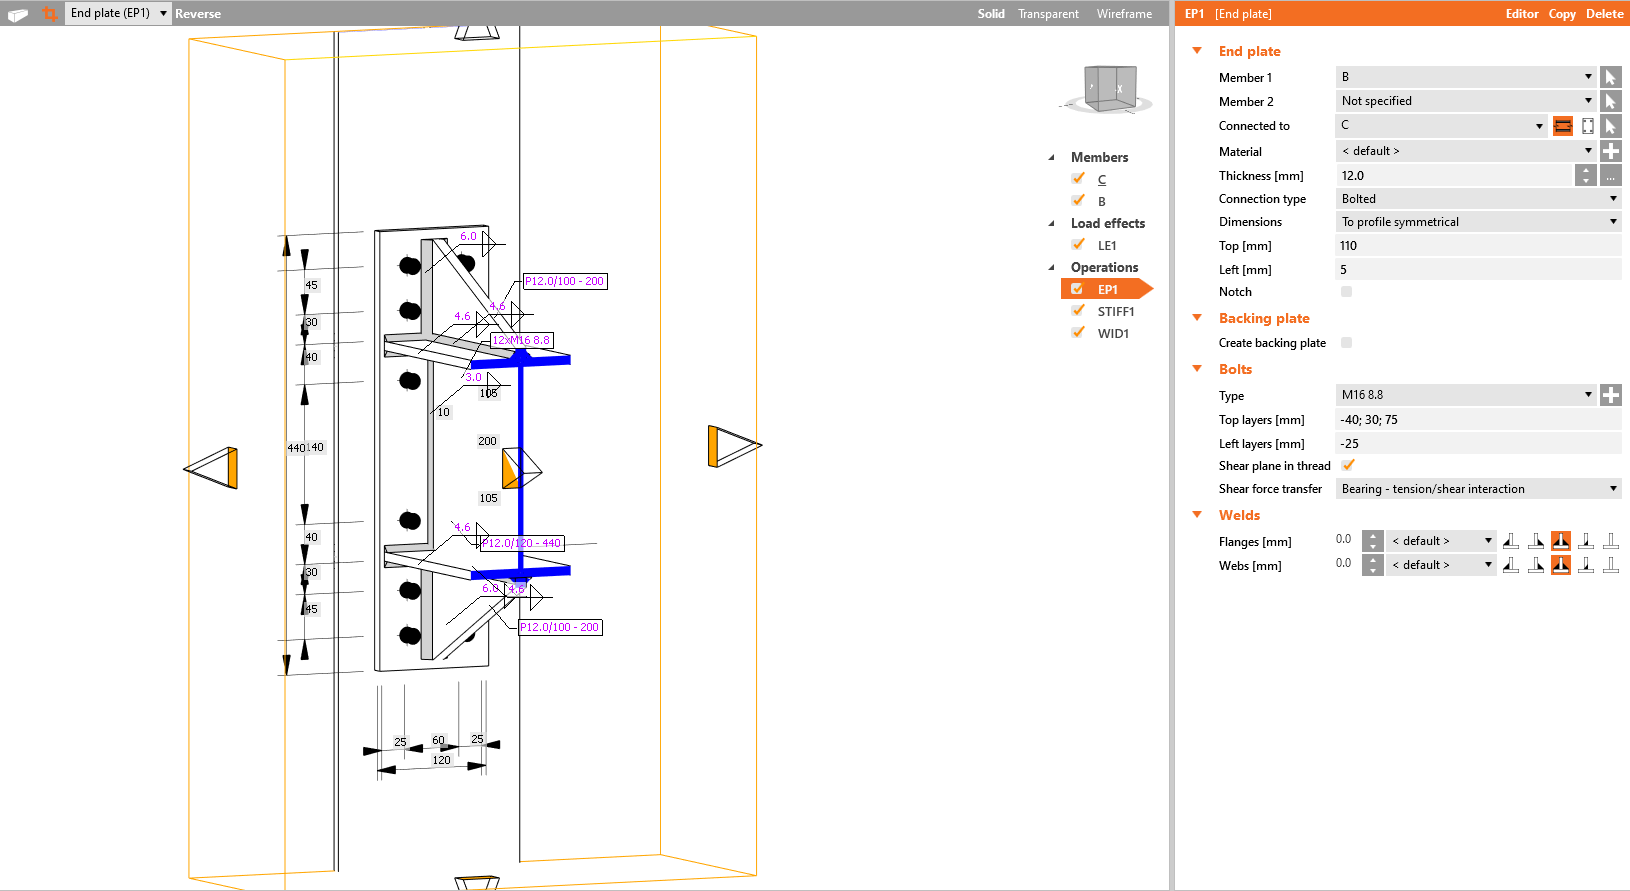
To create a section view, right-click on any plate in the 3D model of the joint, and select Create section. Immediately, the section view is created.
If you want to change the size of the section itself, click on the yellow section border and drag the arrows.
To delete a section view, right-click on the same plate for which you have previously created the section view and select the Delete section.
More section views for various plates of the joint can be defined. To switch between created sections, select the desired in the combo box.
The direction of the section can be changed by the Reverse command. Section model view can be activated/deactivated by the section button placed on the left side of the section items combo box.
Section views can be added to the Report as pictures from the gallery (also with the dimensions) or automatically after selecting the command button for sections in the Detailed report setup.
The Bill of the material will automatically include all defined sections.
See the video on how to easily work with the sections:


