Midas Civil BIM link for Steel design Midas Civil BIM-link voor staalontwerp
1 Activering
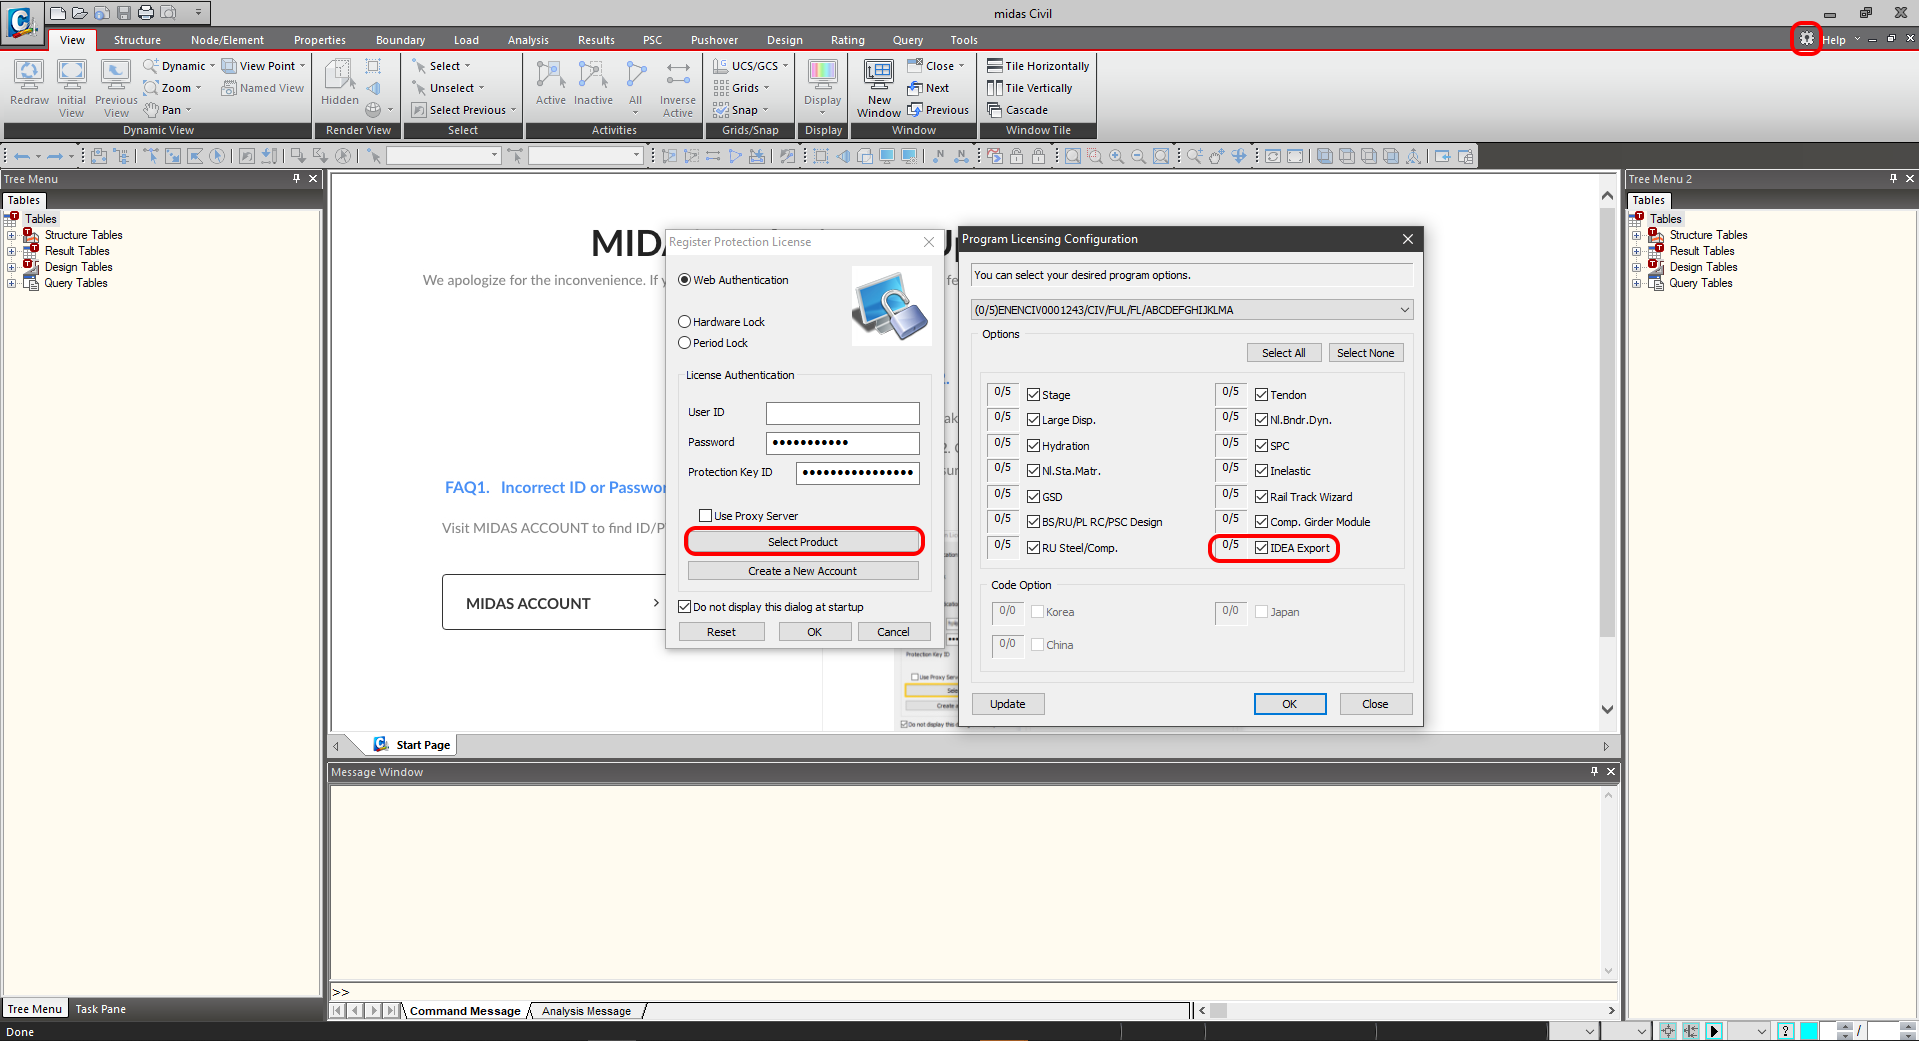
Sinds de versie Midas Civil 2020 3.2 en nieuwer is de activatie checkbox toegevoegd aan de Programma licentie configuratie.
2 Export
Voer eerst de lineaire analyse uit om de interne krachten te verkrijgen. Na de analyse gaat u naar de menustructuur waar u Export-->IDEA File vindt.
Selecteer het pad waar de mct. en mid. bestanden worden opgeslagen. Beide bestanden moeten in dezelfde map staan. Anders zal de import naar IDEA StatiCa BIM niet toegankelijk zijn.
3 Import
Start IDEA StatiCa en ga naar het BIM gedeelte. Druk op de knop "Import from other programs" en selecteer de Tut 4 Arch Bridge - BD37. De selectie van het .mct-bestand wordt toegestaan als u naar beneden scrolt in het menu van ondersteunde FEM-programma's en Midas mct Files(.mct) selecteert.
U kunt de ontwerpers sorteren in groepen. Dat is geschikt voor het ontwerp. De staven die aan een groep zijn toegewezen, worden tegelijkertijd gecontroleerd.
4 Resultaatklassen
Het tabblad Resultaatklasse dient voor het selecteren van combinaties die worden meegenomen in de code-check. De enveloppen uit de Moving load analyse worden verwijderd. De enveloppen worden opgenomen in de combinaties LCB1 waar ze worden opgenomen als statische belastinggevallen uit de Midas Civil.
5 Verbindingsontwerp
Selecteer het knoop N16 door de knop Nieuw in het lint te gebruiken. Het knoop bevindt zich tussen de elementen 24 en 25. U kunt er ook meer dan één selecteren. U werkt met slechts één knoop (verbinding).
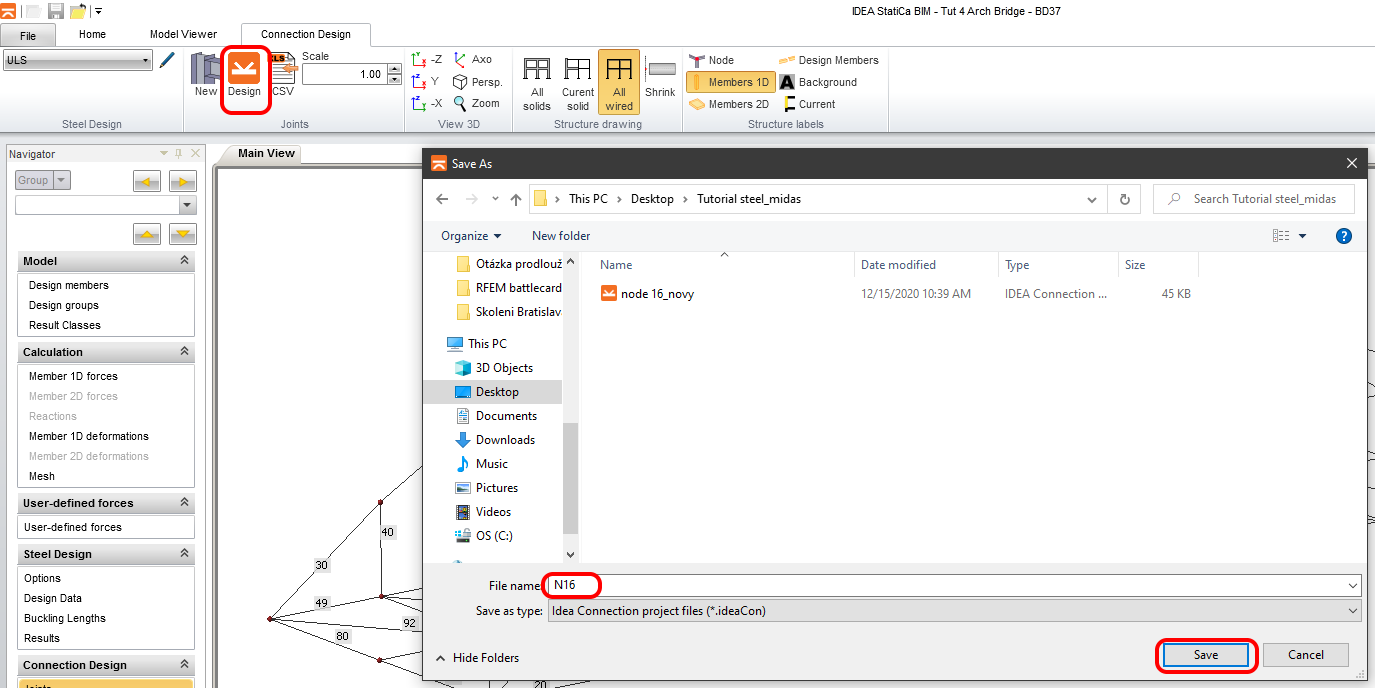
Geef de naam van de verbinding voor het opslaan en start de applicatie IDEA StatiCa Connection door de knop Design (Ontwerpen) in het lint te gebruiken.
6 Design
The connection is in the equilibrium. This is an important step for controlling and correctness of your model. You will use the predefined template for this connection. Go to the Manager in the ribbon.
Import the predefined template file midas_steel_link.exp and save it to the local library.
Confirm your selection.
Apply the template to your model.
During uploading the template to your model will appear the dialog where is necessary to set the bolt grade and the profile of the cleat. Let the bolt grade as default and set the dimension of the Cleat.
The shear force will be transferred via cleat where are bolts. Change the transferring of the forces for DM47 to the Bolts.
6 Check
Run the analysis. You will obtain results in all components as plates, welds, bolts, and equations according to code where are all results described.
Let's have a look at the equivalent stress on the plates where is turned on the mesh and deformed shape with the tab where are sorted out the stresses gradually from the maximum to minimum.
7 Report
Next, go to the tab Report. IDEA StatiCa offers a fully customizable report to print out or save in an editable format. The printed out format can be PDF and doc. file.
Known limitations
Midas Civil is a powerful tool for the calculation of envelopes from moving load or settlement analysis. IDEA StatiCa Connection cannot work with the envelopes from Midas Civil. If you want to do the code - check the combinations with the impact of moving load there is important to create a static load case from the moving load analysis.
Static load case from moving load
For the actual combination LCB1 imposed in the Midas Civil and also in IDEA StatiCa Connection was selected static load case for node 16 and maximal bending moment My on the member 24.


