Tutorial for Midas Civil BIM link for steel connection design
1 Activation
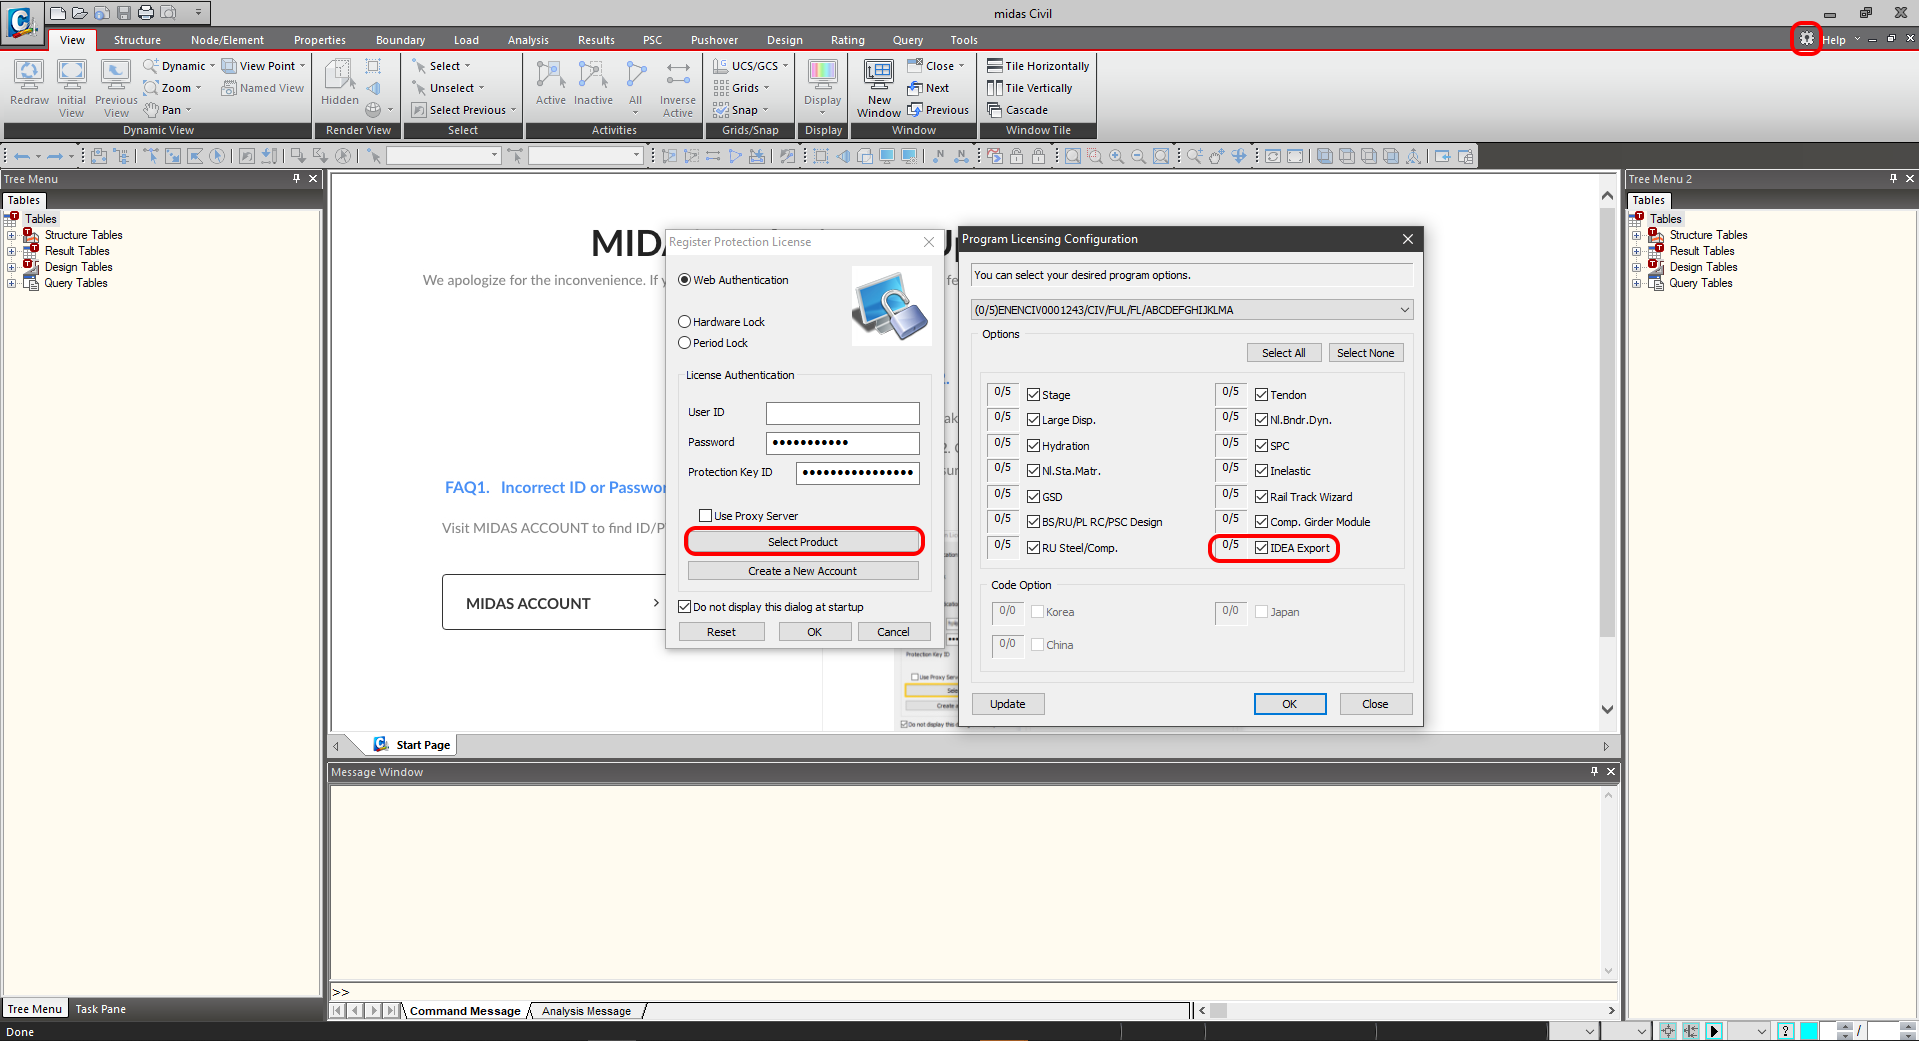
Since the version Midas Civil 2020 3.2 and newer has been added, the activation checkbox to the Program licensing configuration.
2 Export
At first, run the linear analysis to get the internal forces. After analysis, go to the menu tree where will be available Export-->IDEA File.
Select the path where will be saved the mct. and mid. files. Both files are necessary to have in the same folder. Otherwise, the import to IDEA StatiCa BIM won't be accessible.
3 Import
Launch IDEA StatiCa application and move to BIM part. Press the Import from other programs and select the Tut 4 Arch Bridge -BD37. The selection of the .mct file will be allowed if you scroll down the menu of supported FEM programs and select Midas mct Files(.mct).
You can sort the design members into groups. It's suitable from the design point of view. The members assigned to one group are checked at the same time.
4 Result Classes
The Result class tab serves for selecting combinations that will be included in the code-check. The envelopes from the Moving load analysis will be deleted. The envelopes are included in the combinations LCB1, which are included as static load cases from the Midas Civil.
5 Connection Design
Select node N16 using the New button in the ribbon. The node is located between members 24 and 25. There is also the option to select more than one. You will work with only one node (joint).
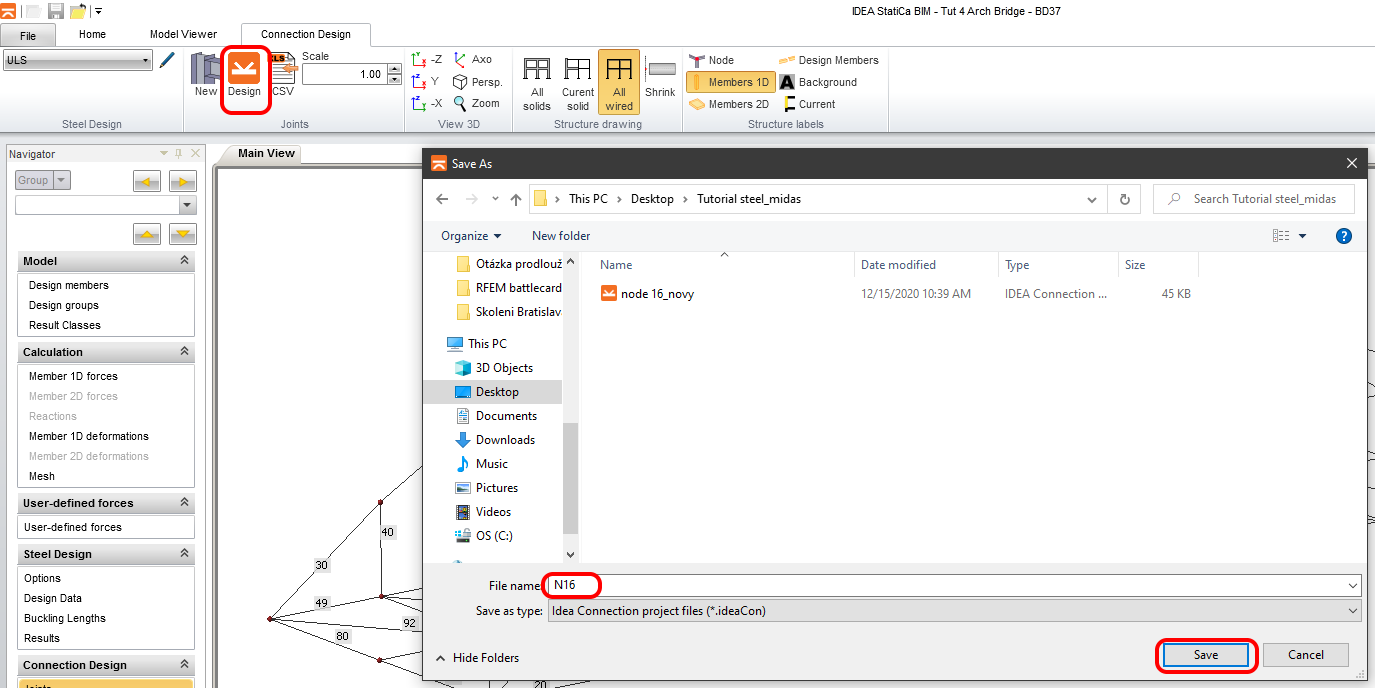
Address the name of the joint for the saving and run the application IDEA StatiCa Connection by using the Design button in the ribbon.
6 Design
The connection is in equilibrium. This is an important step for controlling and correctness of your model. You will use the predefined template for this connection. Go to the Manager in the ribbon.
Import the predefined template file midas_steel_link.exp and save it to the local library.
Confirm your selection.
Apply the template to your model.
While uploading the template to your model, the dialog will appear where necessary to set the bolt grade and the cleat profile. Let the bolt grade as default and set the dimension of the Cleat.
The shear force will be transferred via cleat where are bolts. Change the transferring of the forces for DM47 to the Bolts.
6 Check
Run the analysis. You will obtain results in all components as plates, welds, bolts, and equations according to the code where all results are described.
Let's look at the equivalent stress on the plates turned on the mesh and deformed shape with the tab where are sorted out the stresses gradually from the maximum to minimum.
7 Report
Next, go to the tab Report. IDEA StatiCa offers a fully customizable report to print out or save in an editable format. The printed-out format can be PDF and doc. file.
Known limitations
Midas Civil is a powerful tool for the calculation of envelopes from moving load or settlement analysis. IDEA StatiCa Connection cannot work with the envelopes from Midas Civil. If you want to do the code - check the combinations with the impact of moving load, there is important to create a static load case from the moving load analysis.
Static load case from moving load
For the actual combination LCB1 imposed in the Midas Civil and also in IDEA StatiCa Connection was selected static load case for node 16 and maximal bending moment My on the member 24.


